

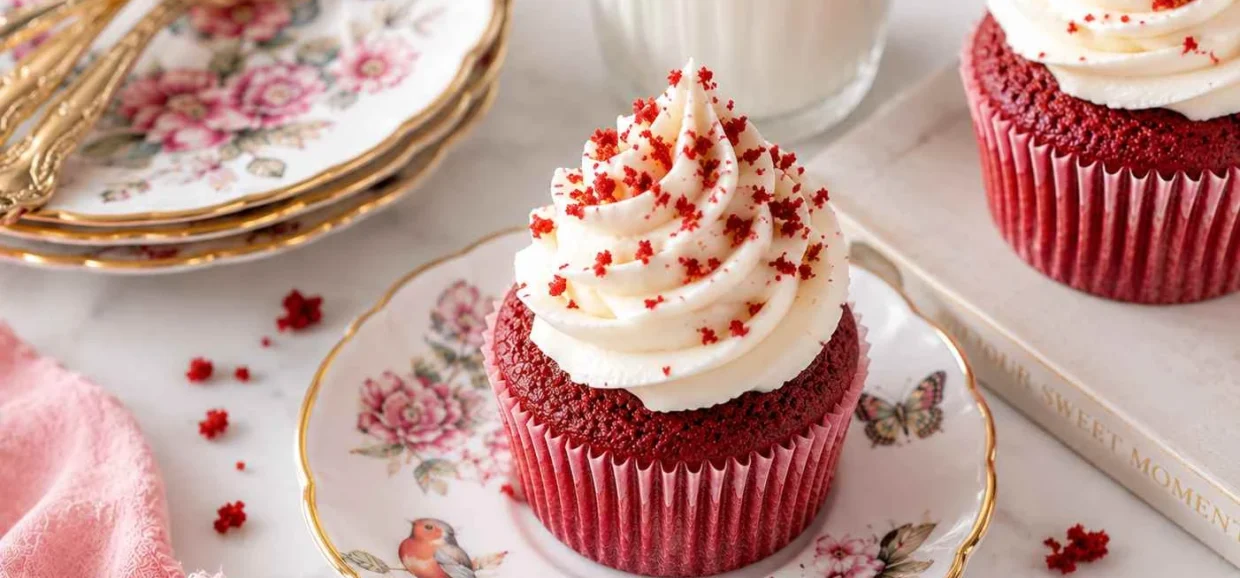
There’s a particular kind of disappointment that comes from ordering a slice of red velvet cake and getting something that tastes like plain chocolate cake wearing a red costume. You’ve probably had it happen: a bakery case full of towering, cream-cheese-swirled cupcakes in that unmistakable crimson hue, and then one bite in, nothing. No tang, no depth, just sugar and food coloring pretending to be a classic.
Red velvet started life as a Southern bakery staple, the kind of cake your grandmother’s neighbor brought to church potlucks in a cake carrier that had clearly made a hundred trips before. It was never supposed to be chocolate cake in disguise. The real thing gets its flavor from a small amount of cocoa powder working alongside a buttermilk, vinegar, and baking soda reaction that makes the crumb tender, faintly tangy, and just barely cocoa-forward — not chocolatey, not plain vanilla, something in between that’s genuinely its own thing.
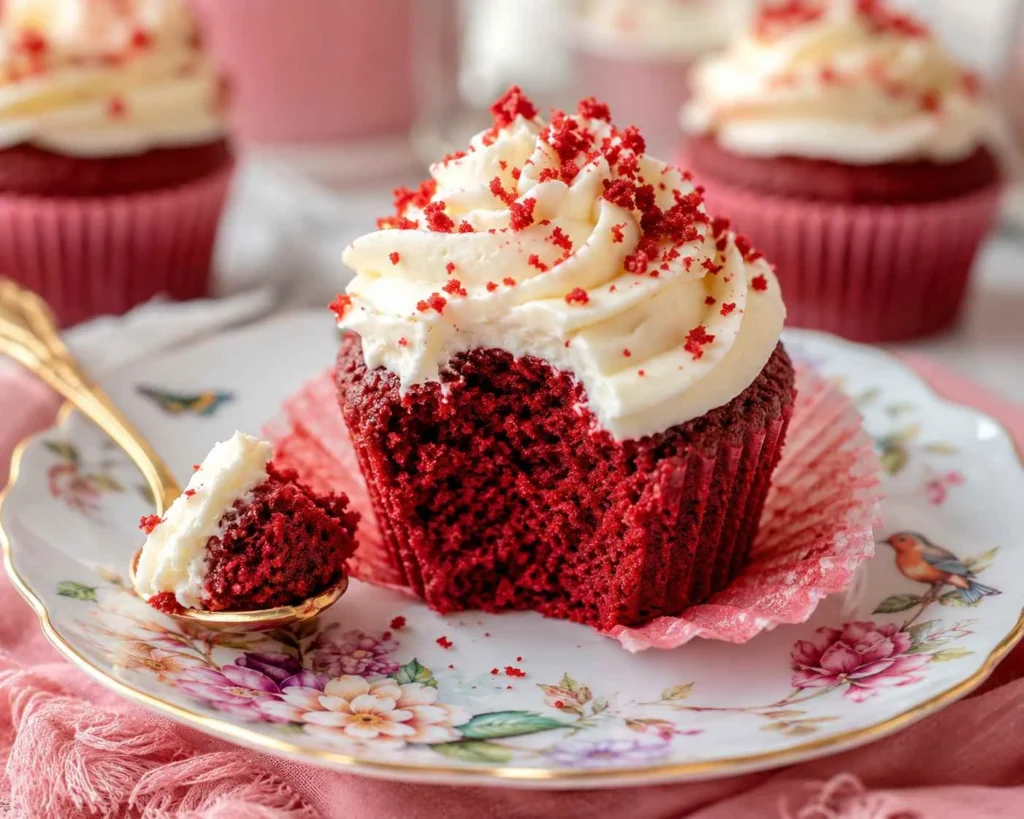
This recipe is built to get that right, from scratch, in cupcake form, topped with a real cream cheese frosting that isn’t overly sweet. If you’re ready to get baking, use the button below to jump straight down to the recipe card.
Why This Red Velvet Cupcakes Recipe Works
Most of what makes red velvet taste like red velvet has nothing to do with the food coloring. It comes down to chemistry: a small amount of unsweetened cocoa powder gives the batter a mild, background chocolate note, while the combination of buttermilk, vinegar, and baking soda creates an acid-base reaction that tenderizes the crumb and adds a subtle tang you won’t get from a plain vanilla or chocolate cupcake. That reaction is also part of why old-fashioned red velvet cakes had a naturally reddish-brown color long before food dye became the norm — the acid reacting with the small amount of cocoa used to shift its color slightly. King Arthur Baking’s notes on red velvet cake go into more detail on why this combination behaves the way it does, and it’s worth a read if you’re curious about the science behind the classic.
This recipe keeps that reaction intact by mixing the baking soda and vinegar together separately and folding it in last, right before the batter goes into the liners. Skip that step, or dump everything in at once, and you lose both the lift and the tang that make red velvet taste like red velvet instead of a slightly reddish chocolate cupcake.
Red Velvet Cupcakes Ingredients
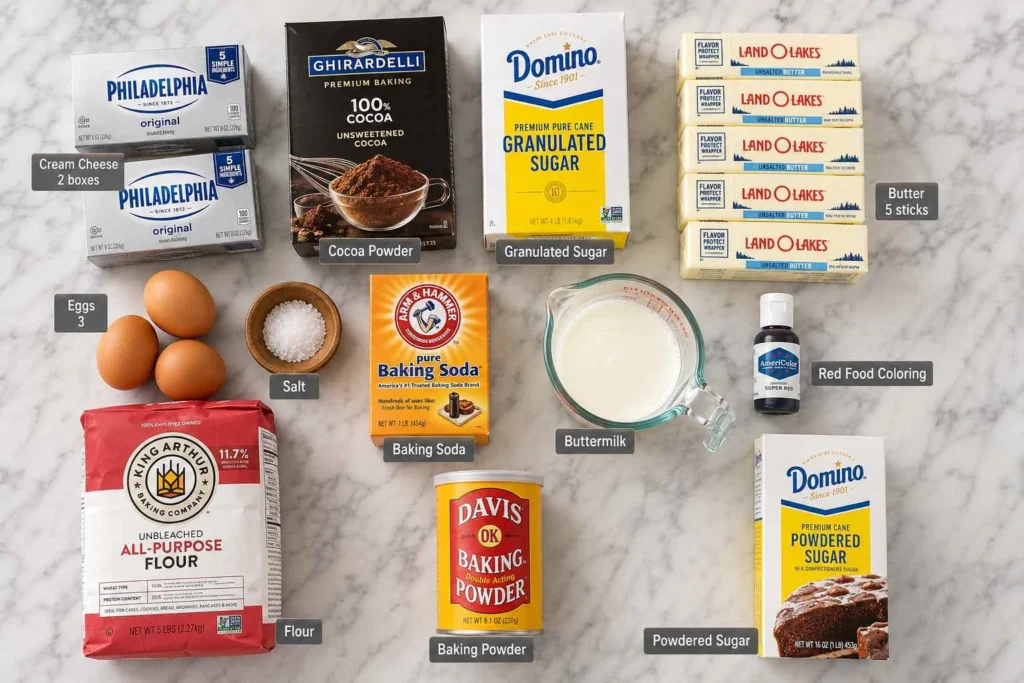
You likely have most of this in your pantry and fridge already. The one non-negotiable is buttermilk — it’s doing real work here, not just adding moisture, so don’t swap it for regular milk if you can help it. Gel food coloring is also worth seeking out over the liquid kind; you’ll get a deeper color without thinning out the batter.
Ingredient Table — Red Velvet Cupcake Batter
| Ingredient | Amount |
|---|---|
| All-purpose flour | 1 1/4 cups (155g) |
| Unsweetened cocoa powder | 1 tbsp (5g) |
| Salt | 1/4 tsp |
| Unsalted butter, softened | 1/2 cup (113g) |
| Granulated sugar | 1 cup (200g) |
| Large egg | 1 |
| Buttermilk | 1/2 cup (120ml) |
| Red gel food coloring | 1 tbsp |
| Vanilla extract | 1 tsp |
| Baking soda | 1/2 tsp |
| White vinegar | 1 tsp |
Ingredient Table — Cream Cheese Frosting
| Ingredient | Amount |
|---|---|
| Cream cheese, softened | 8 oz |
| Unsalted butter, softened | 1/2 cup |
| Powdered sugar, sifted | 3 cups |
| Vanilla extract | 1 tsp |
| Salt | pinch |
How to Make Red Velvet Cupcakes From Scratch
This comes together in one bowl with a hand mixer, no stand mixer required, though either works fine. The order you add things in matters more than usual here, especially at the end, so read through the steps once before you start.
Mix the Batter
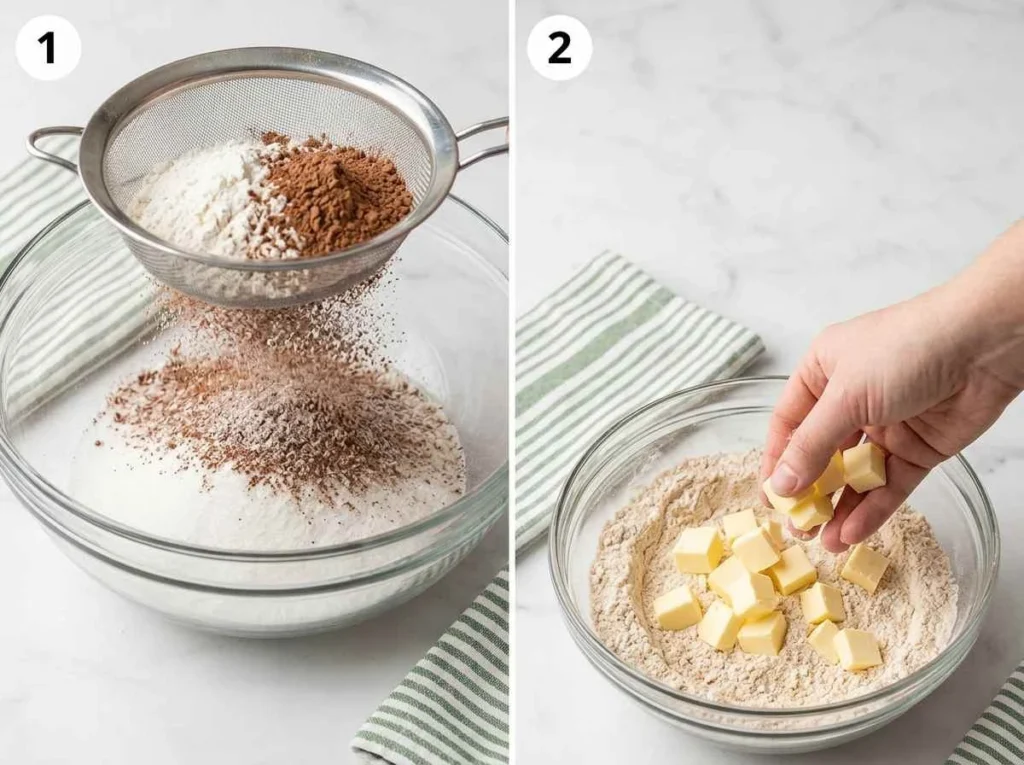
- Heat your oven to 350°F (175°C) and line a 12-cup muffin pan with cupcake liners.
- In a small bowl, whisk the flour, cocoa powder, and salt together and set aside.
- In a large bowl, cream the softened butter and granulated sugar together until light and fluffy, about 2 to 3 minutes. Beat in the egg until fully incorporated.
- Stir the red gel food coloring and vanilla extract into the buttermilk. Add the buttermilk mixture and the dry flour mixture to the batter in alternating additions, starting and ending with the dry ingredients, mixing just until combined after each addition.
- In a small bowl, stir the baking soda and white vinegar together — it will fizz immediately. Fold this into the batter right away, mixing just until it disappears. This is the step that gives red velvet its lift and tang, so don’t skip it and don’t add it too early or the reaction fizzles out before it hits the batter.
Bake
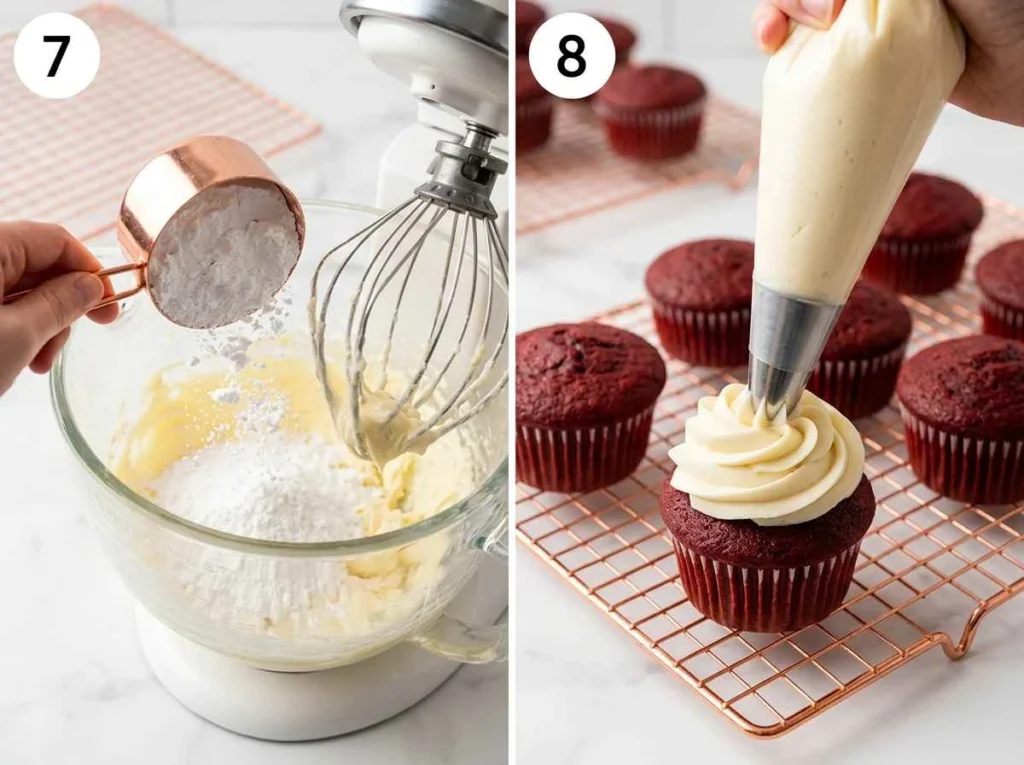
- Divide the batter evenly among the liners, filling each about two-thirds full.
- Bake for 18 to 20 minutes, or until a toothpick inserted into the center comes out clean or with a few moist crumbs.
- Let the cupcakes cool in the pan for 5 minutes, then transfer them to a wire rack to cool completely before frosting. Frosting warm cupcakes will melt the cream cheese frosting right off.
How to Make Cream Cheese Frosting
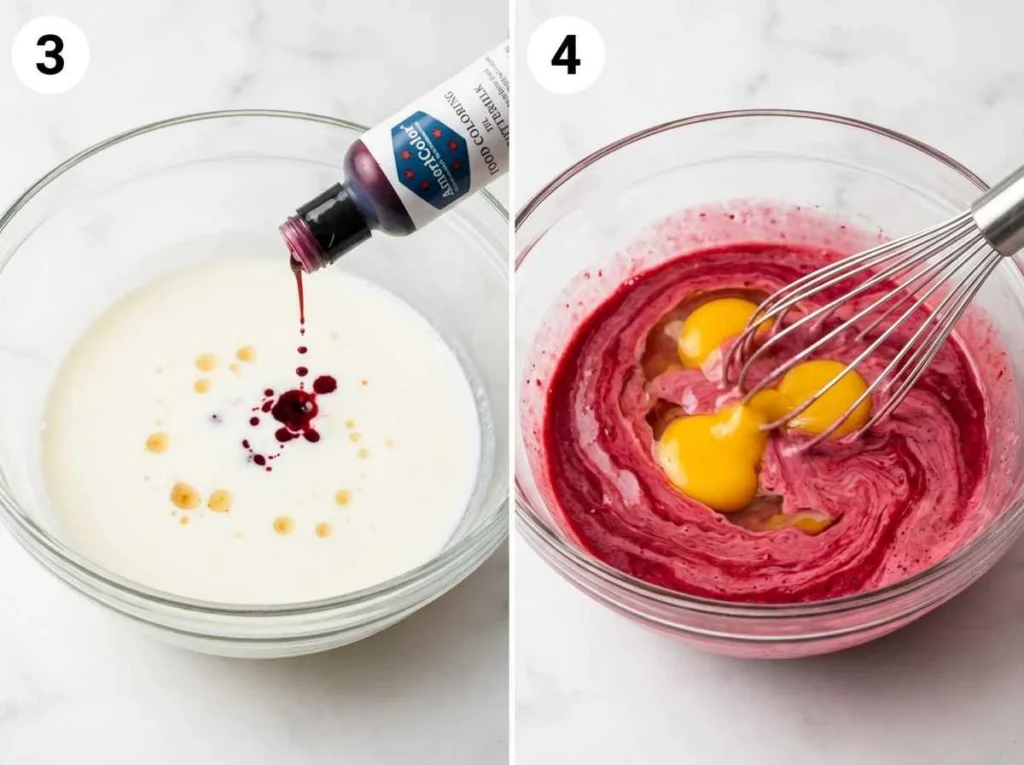
Real cream cheese frosting is soft by nature, which is exactly what makes it so good on red velvet and exactly why it’s easy to overbeat into a runny mess. The fix is mostly about temperature and restraint.
- Beat the softened cream cheese and butter together first, on their own, until completely smooth with no lumps. This step matters more than people think — any lumps now will stay lumps later.
- Add the powdered sugar gradually, a cup at a time, beating on low speed to avoid a sugar cloud, then increasing to medium once it’s mostly incorporated.
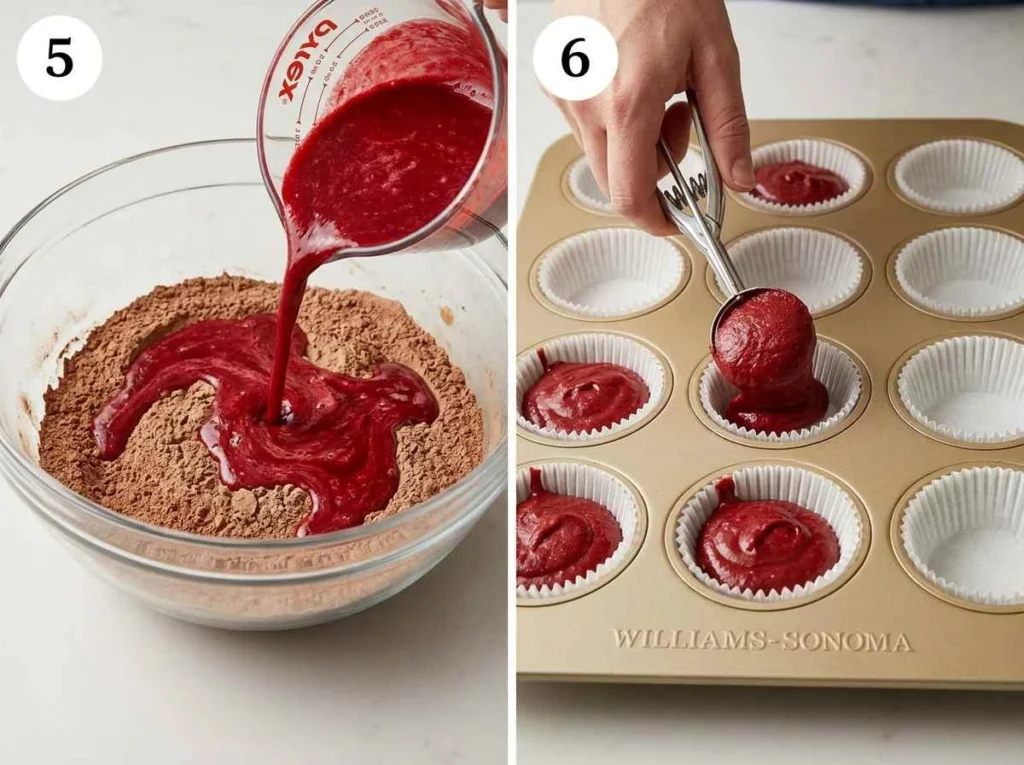
- Add the vanilla extract and a pinch of salt, then beat until the frosting is light and fluffy, about 1 to 2 minutes.
- Stop there. Overbeating cream cheese frosting past the fluffy stage warms it up and breaks it down, which turns it runny since cream cheese is soft to begin with. If that happens, chill the bowl for 15 minutes and give it a quick, gentle re-whip.
If you’ve ever had a frosting go from perfect to soupy in the span of thirty seconds of extra mixing, you’re not alone — it’s one of the most common frosting complaints, and the same troubleshooting applies whether you’re making cream cheese frosting here or a mascarpone-based topping like the one on our tiramisu cupcakes: keep everything cool, mix in short bursts, and stop as soon as it holds a peak.
Tips for the Best Red Velvet Cupcakes
- Don’t skip the vinegar and baking soda reaction — it’s responsible for both the lift and the signature tang, and leaving it out (or mixing it in too early) flattens the flavor.
- Use gel food coloring instead of liquid. You’ll get a richer red without watering down the batter, which liquid coloring tends to do if you use enough to see a real difference.
- Stop mixing as soon as the flour disappears. Red velvet batter is delicate, and overmixing after the dry ingredients go in leads to a dense, tough crumb.
- Bring your cream cheese and butter to true room temperature before making the frosting — if either one is still cold, you’ll end up beating out lumps instead of preventing them.
- Only frost fully cooled cupcakes. Even slightly warm cupcakes will melt cream cheese frosting into a puddle.
- Measure your flour by weight if you can. Scooping flour straight from the bag packs it down and can add several extra tablespoons without you realizing it.
Red Velvet Cupcake Variations
Once you’ve got the base recipe down, there’s a lot of room to play with it.
- Red velvet cake pops: crumble a few cupcakes, mix with a couple tablespoons of the frosting, roll into balls, and dip in melted chocolate.
- Red velvet cheesecake cupcakes: swap the cream cheese frosting for a baked cheesecake layer on top of the batter before baking.
- Mini red velvet cupcakes: use a mini muffin tin and reduce the bake time to about 10 to 12 minutes — great for parties or dessert tables.
- Dairy-free swap: use a plant-based buttermilk substitute (non-dairy milk plus a splash of vinegar) and dairy-free butter and cream cheese alternatives.
Dietary Variation Table
| Variation | Swap |
|---|---|
| Gluten-free | Use a 1:1 gluten-free all-purpose flour blend in place of the all-purpose flour. |
| Dairy-free | Use plant-based buttermilk (non-dairy milk + vinegar), dairy-free butter, and dairy-free cream cheese. |
| Lower sugar | Reduce granulated sugar in the batter by up to 2 tablespoons and powdered sugar in the frosting by up to 1/2 cup. |
How to Store Red Velvet Cupcakes
Cream cheese frosting is dairy-based and perishable, so once your cupcakes are frosted, they need to go in the fridge rather than sitting out on the counter. This lines up with general USDA food safety guidance on perishable, dairy-containing foods, which recommends refrigeration rather than extended room-temperature storage.
- Unfrosted cupcakes can sit at room temperature, covered, for up to 2 days.
- Frosted cupcakes should be refrigerated in an airtight container and are best within 3 to 4 days.
- Let refrigerated cupcakes sit at room temperature for about 20 to 30 minutes before serving — cold cream cheese frosting dulls the flavor.
- Unfrosted cupcakes freeze well, wrapped tightly, for up to 3 months.
Make-Ahead & Storage Timeline Table
| Storage Method | How Long |
|---|---|
| Room temperature, unfrosted | 2 days |
| Refrigerated, frosted | 3 to 4 days |
| Freezer, unfrosted | Up to 3 months |
| Freezer, frosted | Not recommended — frosting texture suffers |
What to Serve With Red Velvet Cupcakes
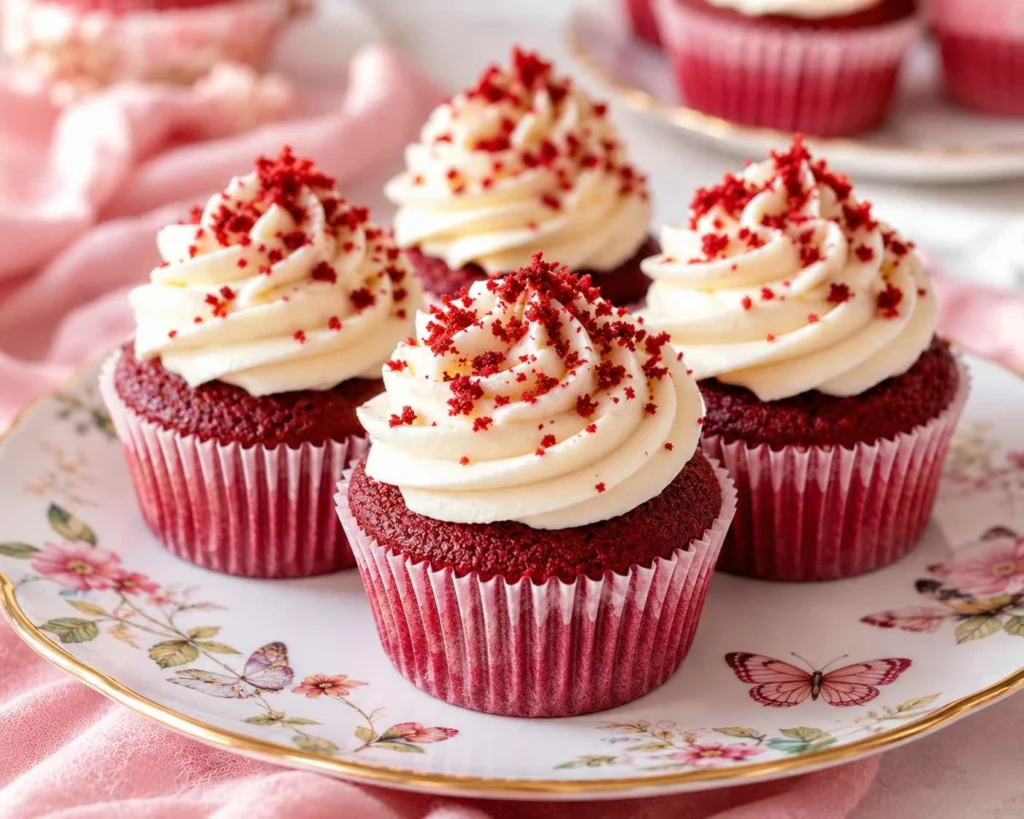
- A cup of strong coffee or espresso to balance the sweetness
- Fresh berries on the side for a bit of acidity
- A small scoop of vanilla ice cream for a dessert-table centerpiece
If you’re putting together a dessert spread and want something to pair alongside the red velvet, a rich chocolate cake makes a natural counterpart — it gives guests a deeper, more intensely chocolate option next to red velvet’s lighter, tangier profile.
Red Velvet Cupcakes Nutrition Facts
These numbers are an estimate per frosted cupcake, based on this recipe making 12 cupcakes. Your actual values will vary depending on the exact brands and amounts you use.
Nutrition Table (Per Cupcake, Estimated)
| Nutrient | Amount |
|---|---|
| Calories | ~310 kcal |
| Total Fat | ~17g |
| Carbohydrates | ~40g |
| Sugar | ~29g |
| Protein | ~3.5g |
Frequently Asked Questions
How do you make red velvet cupcakes from scratch?
You make red velvet cupcakes from scratch by combining flour, a small amount of cocoa powder, butter, sugar, egg, and buttermilk into a batter, then folding in a baking soda and vinegar mixture right at the end. That last step is what gives the cupcakes their characteristic tang and light crumb, so it’s worth doing in the right order rather than mixing everything together at once.
Why do red velvet cupcakes taste different from chocolate cupcakes?
Red velvet cupcakes use only a small amount of cocoa powder compared to chocolate cupcakes, and they include a buttermilk, vinegar, and baking soda reaction that chocolate cupcakes typically don’t. That reaction adds a subtle tang and tenderizes the crumb, which is why red velvet tastes lighter and slightly tangy rather than deeply chocolatey.
Can I make red velvet cupcakes without red food coloring?
Yes. Leaving out the food coloring won’t change the flavor of red velvet cupcakes at all — it only affects the color. The cupcakes will bake up a natural light brown instead of red, but the cocoa-buttermilk-vinegar flavor combination stays exactly the same.
How long do red velvet cupcakes last?
Unfrosted red velvet cupcakes last about 2 days at room temperature, while frosted cupcakes should be refrigerated and are best eaten within 3 to 4 days because of the dairy-based cream cheese frosting.
Can I make red velvet cupcakes ahead of time?
Yes. You can bake the cupcakes up to 3 months ahead and freeze them unfrosted, then thaw and frost them the day you plan to serve them. The frosting itself is best made fresh, or up to a day ahead and kept refrigerated in an airtight container.
Ready to Bake?
Real red velvet cupcakes come down to a few things done right: a light hand with the cocoa, that vinegar-and-baking-soda reaction folded in at just the right moment, and a cream cheese frosting that’s whipped just enough and no more. Get those right and you’ll land somewhere far better than the boxed-mix version most of us grew up on.
If you give this recipe a try, take a second to rate the recipe card below and leave a comment letting us know how it went — it genuinely helps other bakers decide whether to try it. Tag your photos if you share them online, we love seeing them. And if you’re in the mood to bake something else along these lines, browse more cupcake recipes on the site, or browse recipes by badge to find something that fits a specific craving or dietary need.
Red Velvet Cupcakes Recipe Card
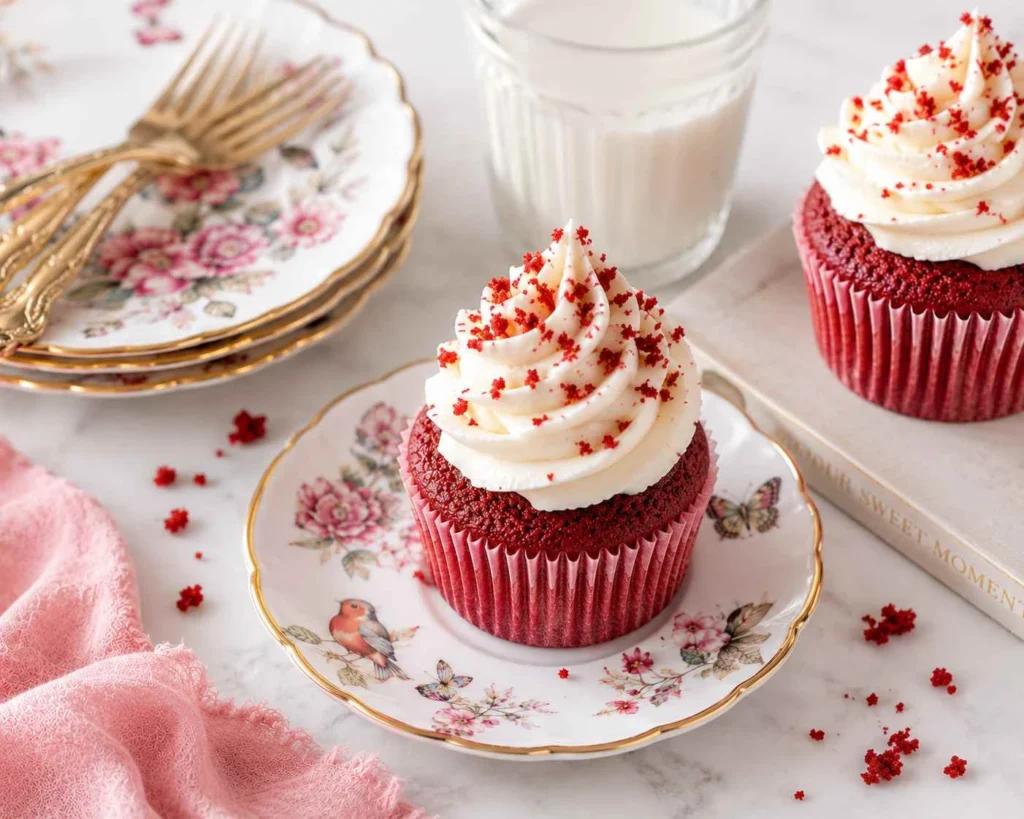
Red Velvet Cupcakes
Description
Classic red velvet cupcakes with a tangy buttermilk-cocoa crumb and real cream cheese frosting.
Ingredients
For the Cupcakes:
- 1 1/4 cups (155g) all-purpose flour
- 1 tbsp (5g) unsweetened cocoa powder
- 1/4 tsp salt
- 1/2 cup (113g) unsalted butter, softened
- 1 cup (200g) granulated sugar
- 1 large egg
- 1/2 cup (120ml) buttermilk
- 1 tbsp red gel food coloring
- 1 tsp vanilla extract
- 1/2 tsp baking soda
- 1 tsp white vinegar
For the Cream Cheese Frosting:
- 8 oz cream cheese, softened
- 1/2 cup unsalted butter, softened
- 3 cups powdered sugar, sifted
- 1 tsp vanilla extract
- pinch salt
Instructions
- Heat oven to 350°F (175°C) and line a 12-cup muffin pan with cupcake liners.
- Whisk the flour, cocoa powder, and salt together in a small bowl; set aside.
- Cream the butter and sugar together until light and fluffy, then beat in the egg.
- Stir the food coloring and vanilla into the buttermilk. Add the buttermilk and dry mixture to the batter in alternating additions, mixing just until combined.
- Stir the baking soda and vinegar together and fold in last, mixing just until combined — this reaction gives red velvet its lift and tang, so don’t skip it or add it too early.
- Fill liners two-thirds full and bake for 18 to 20 minutes, until a toothpick comes out clean.
- Cool in the pan for 5 minutes, then transfer to a wire rack to cool completely before frosting.
- Beat the softened cream cheese and butter together until completely smooth with no lumps.
- Add the powdered sugar gradually, beating on low speed, then increasing to medium once incorporated.
- Add the vanilla and a pinch of salt, then beat until light and fluffy — stop as soon as it holds its shape, since overbeating makes it runny.
- Frost the fully cooled cupcakes and serve.
Mix the Batter
Bake
Make the Cream Cheese Frosting
Equipment You’ll Need
- 12-cup muffin tin
- Cupcake liners
- Stand or hand mixer
- Cooling rack
- Piping bag and tip (optional, for frosting)