

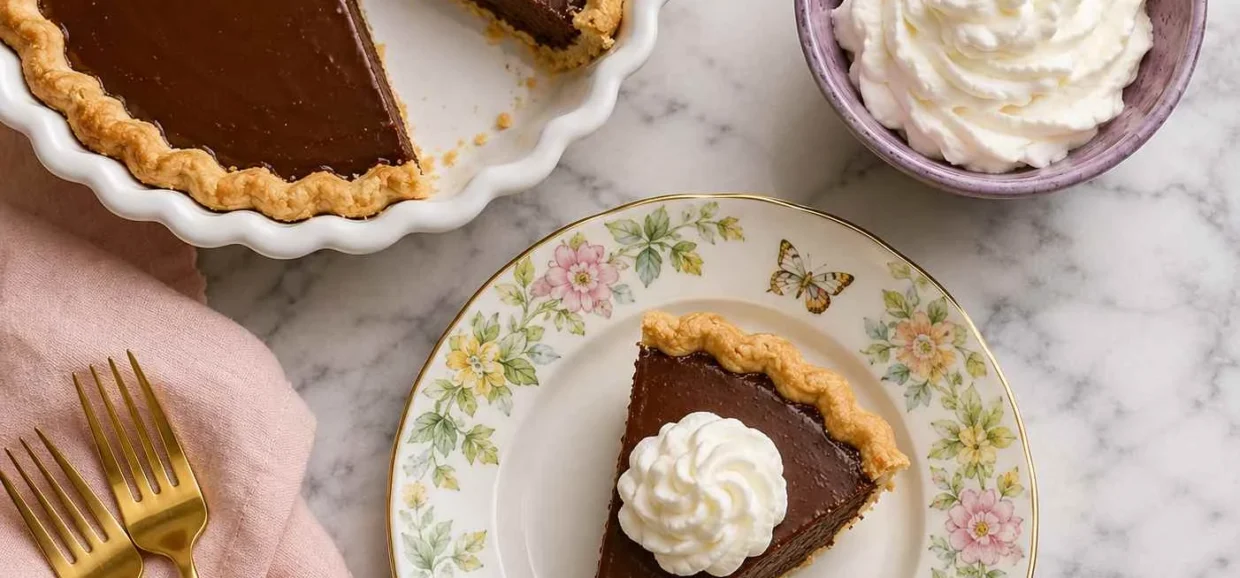
Picture the first slice: your knife glides through a cloud of whipped cream, then settles into a filling that’s smooth as satin and deeply, almost stubbornly chocolatey. That’s what a real chocolate pie is supposed to feel like — not the instant-pudding shortcut, but the kind that’s thickened low and slow on the stovetop until it holds a spoon standing upright.
You don’t need a pastry degree to pull this off. You need a saucepan, a whisk, and about fifteen minutes of steady stirring while the custard thickens into something rich enough to eat straight from the pot (nobody’s watching, we won’t tell). The crust bakes and cools first, the filling sets in the fridge for a few hours, and the whipped cream goes on right before you serve.
This chocolate pie recipe walks you through every stage: blind-baking a crust that won’t turn soggy under a wet filling, building a cooked custard instead of relying on raw eggs, and topping it so it looks like it came from a bakery case. By the end, you’ll have a dessert that vanishes fast at potlucks, holidays, and any Tuesday night when you need something chocolate in your life.
Why This Chocolate Pie Recipe Works
This isn’t a mousse pie, and it isn’t a raw-egg silk pie either. The filling here is a cooked chocolate custard — sugar, cornstarch, cocoa, egg yolks, and milk whisked together and cooked on the stove until it thickens on its own, no gelatin or raw eggs required. That cooking step does two things: it makes the filling food-safe without any workarounds, and it gives you a dense, spoonable texture that holds a clean slice instead of oozing across the plate.
Using both cocoa powder and melted chopped chocolate in the filling gives you a fuller chocolate flavor than either ingredient could deliver alone — cocoa brings intensity and a slight bitterness, while the melted chocolate adds gloss and a rounder, sweeter finish. Blind-baking the crust first, all the way to golden-brown, keeps it crisp under the custard instead of turning gummy after a few hours in the fridge. Once you’ve got the technique down, it works for other cream-filled pies too, so it’s worth browsing our pies and tarts collection for more ideas.
Ingredients You’ll Need
Here’s everything you need, split into the crust and the chocolate filling with its whipped topping. Measurements are for a standard 9-inch pie. If you’d rather skip pastry entirely, a graham cracker crust works too — see the Variations section below.
For the Crust
| Ingredient | Amount | Notes |
|---|---|---|
| All-purpose flour | 1 1/4 cups (160g) | Spoon and level, don’t scoop |
| Unsalted butter, cold | 1/2 cup (113g) | Cubed straight from the fridge |
| Granulated sugar | 1 tablespoon | Rounds out the flavor |
| Salt | 1/4 teaspoon | |
| Ice water | 3-4 tablespoons | Added a tablespoon at a time |
For the Chocolate Filling and Topping
| Ingredient | Amount | Notes |
|---|---|---|
| Granulated sugar | 1 cup (200g) | |
| Cornstarch | 1/3 cup (40g) | The thickener |
| Unsweetened cocoa powder | 1/3 cup (30g) | Natural or Dutch-process |
| Salt | 1/4 teaspoon | |
| Whole milk | 2 1/2 cups (600ml) | |
| Egg yolks | 4 large | Lightly beaten |
| Bittersweet chocolate, chopped | 4 oz (115g) | 60-70% cacao |
| Unsalted butter | 2 tablespoons | |
| Vanilla extract | 1 1/2 teaspoons | |
| Heavy cream, chilled | 1 cup (240ml) | For the topping |
| Powdered sugar | 2 tablespoons | For the topping |
| Chocolate shavings or curls | For garnish |
How to Make Chocolate Pie
Chocolate pie comes together in three stages, and each one can happen on a different day if that fits your schedule better: bake the crust, cook the filling, then chill and top.
Step 1: Blind-Bake the Crust
- Roll the chilled dough into a 12-inch circle and fit it into a 9-inch pie plate. Crimp the edges and prick the bottom all over with a fork.
- Chill the shaped crust in the freezer for 15-20 minutes while your oven heats to 425°F (220°C).
- Line the crust with parchment paper and fill it with pie weights or dried beans. This is the step that keeps the sides from slumping — King Arthur Baking’s guide to pre-baking pie crust is worth a look if you want the full technique.
- Bake for 15 minutes, then remove the weights and parchment. Bake for another 10-12 minutes, until the crust is evenly golden.
- Cool the crust completely on a wire rack, at least 30 minutes, before you pour in any filling.
Step 2: Make the Chocolate Custard Filling
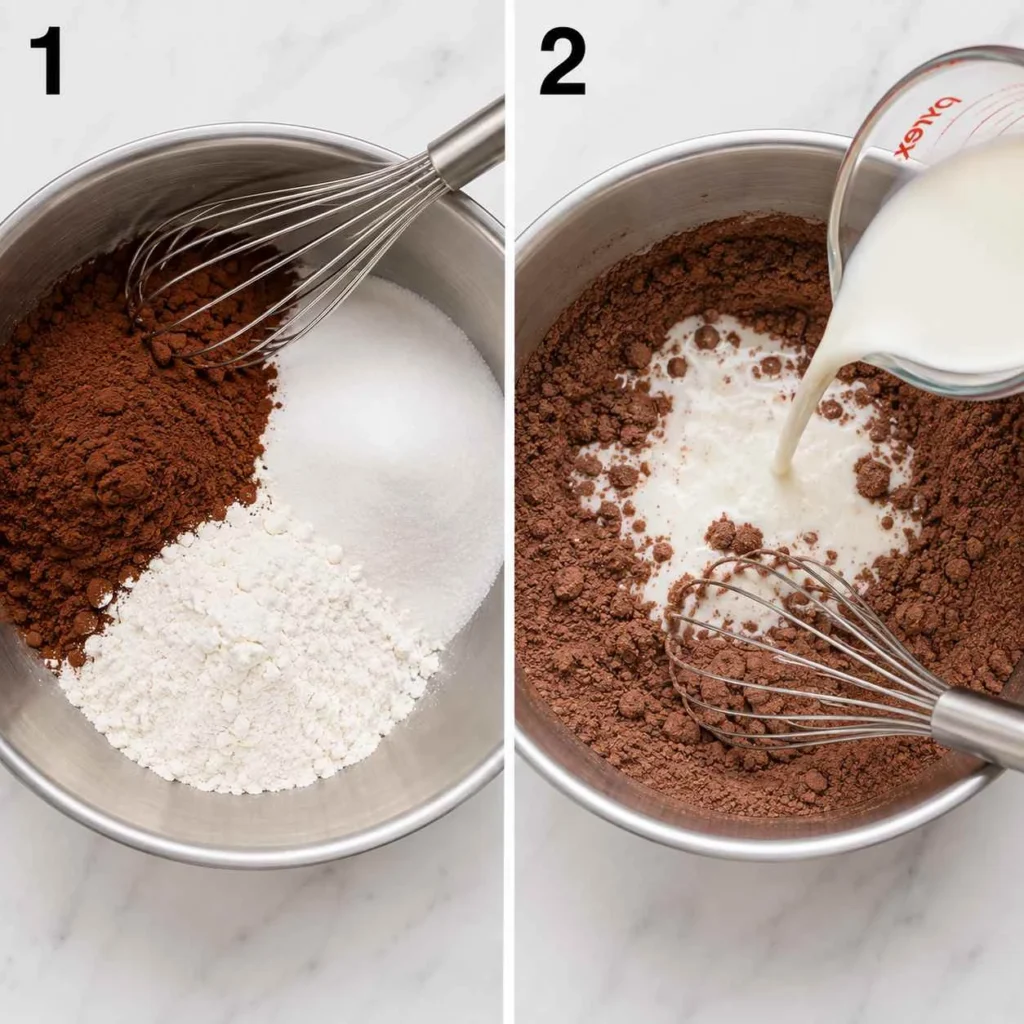
- Whisk the sugar, cornstarch, cocoa powder, and salt together in a large saucepan until no lumps remain.
- Gradually whisk in the milk, pouring slowly so the dry ingredients don’t clump at the bottom of the pan.
- Set the pan over medium heat and cook, whisking constantly, until the mixture starts to thicken and bubble, about 8-10 minutes.
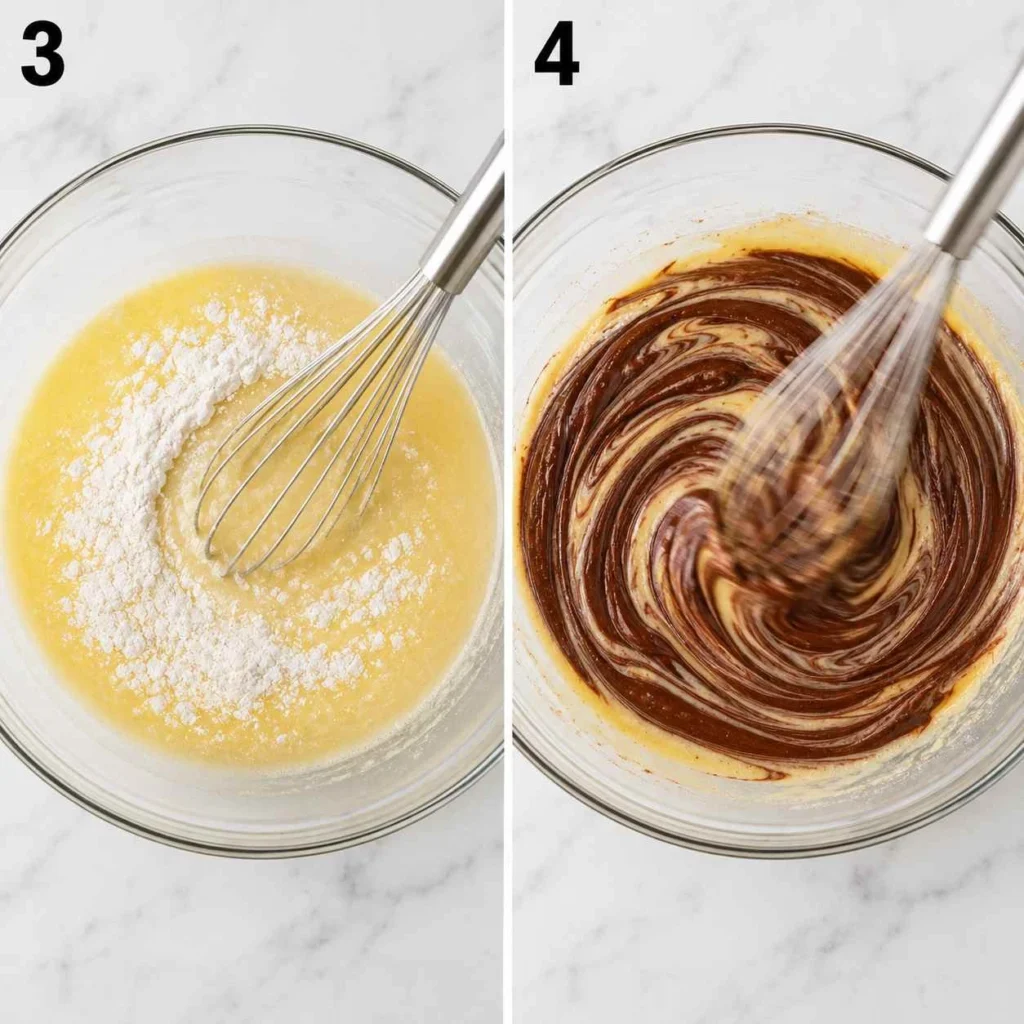
- Ladle about a cup of the hot mixture into the beaten egg yolks, whisking the whole time, to bring the yolks up to temperature without scrambling them.
- Pour the warmed yolk mixture back into the saucepan and cook for another 2 minutes, whisking constantly, until it’s thick enough to coat the back of a spoon.
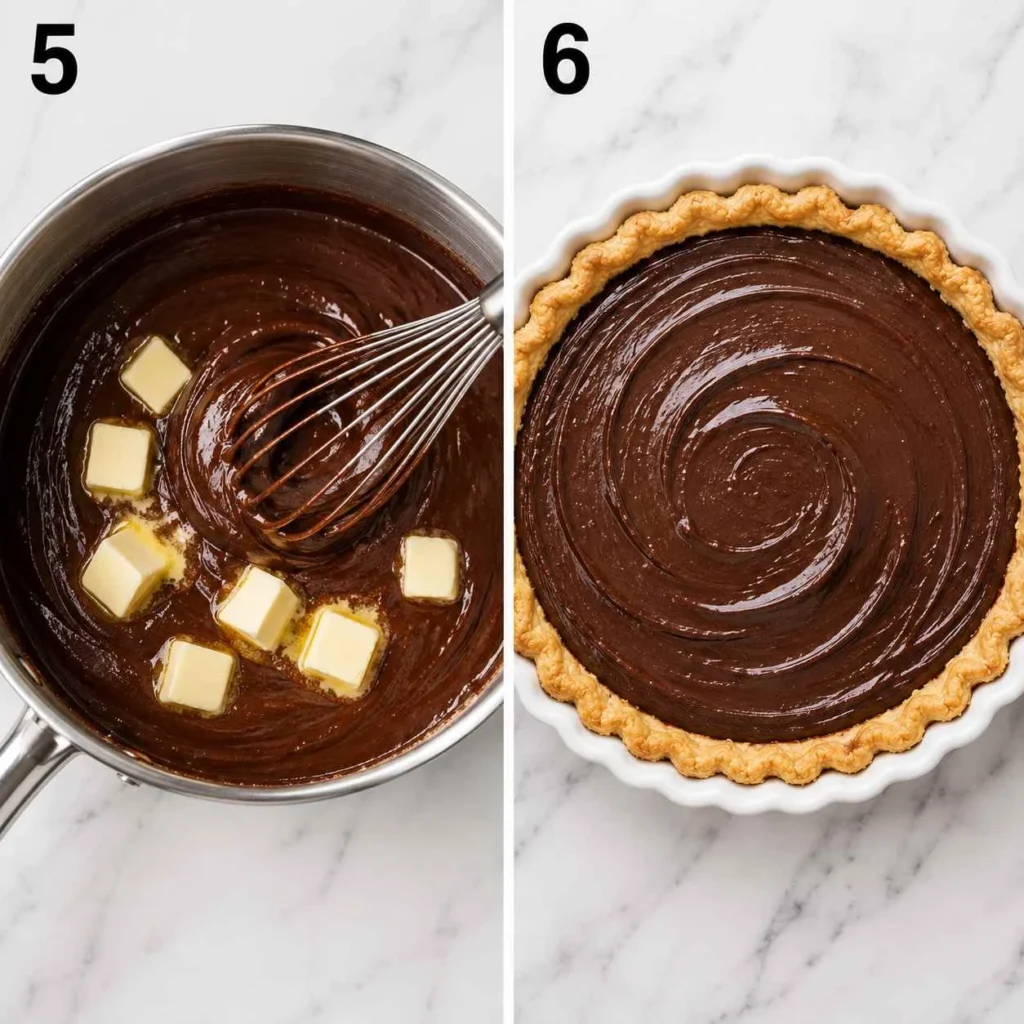
- Remove the pan from the heat and stir in the chopped chocolate, butter, and vanilla until completely smooth and glossy.
- Pour the filling into the cooled crust and press a piece of plastic wrap directly onto the surface to stop a skin from forming.
Step 3: Chill and Top
- Refrigerate the pie for at least 4 hours, though overnight gives you the cleanest slices.
- When you’re ready to serve, whip the chilled heavy cream with the powdered sugar to soft or medium peaks.
- Spread or pipe the whipped cream over the filling, leaving a border of chocolate visible around the edge if you like the look.
- Finish with chocolate shavings, curls, or a light dusting of cocoa powder.
- Slice with a warm, clean knife (run it under hot water and wipe dry between cuts) for neat, bakery-style slices.
Tips for the Best Chocolate Pie
- Whisk constantly once the milk goes in. The bottom of the pan is where scorching happens, and a scorched filling tastes bitter no matter how good your chocolate is.
- Use full-fat whole milk. Lower-fat milk makes a thinner filling that won’t set as firmly.
- Temper the egg yolks slowly. Adding hot custard too fast will scramble them, and there’s no fixing that once it happens.
- Chop your own chocolate instead of using chips. Chips contain stabilizers that keep them from melting as smoothly into a custard.
- Don’t skip the plastic wrap. Pressing it onto the surface of the warm filling is what keeps that rubbery skin from forming while it chills.
- Give it real chilling time. A filling that hasn’t fully set will slide when you slice it, even if it looks firm on top.
Variations and Dietary Swaps
Chocolate pie is forgiving once you understand the basic ratio of milk to cornstarch to cocoa. Here are a few ways to adapt it for different diets or cravings.
| Variation | How to Make It |
|---|---|
| Graham cracker crust | Skip the pastry and press 1 1/2 cups graham cracker crumbs mixed with 6 tablespoons melted butter into the pan; bake at 350°F for 8 minutes and cool before filling. |
| Gluten-free | Use a 1:1 gluten-free flour blend for the crust, or use gluten-free graham crackers for a crumb crust instead. |
| Dairy-free | Swap the whole milk for full-fat canned coconut milk, use a plant-based butter, and top with a dairy-free whipped topping. |
| Mocha chocolate pie | Whisk 1 teaspoon instant espresso powder into the dry ingredients before adding the milk. |
| Extra-dark chocolate | Use 70% cacao chocolate in the filling and cut 2 tablespoons of sugar to balance the added bitterness. |
How to Store Chocolate Pie
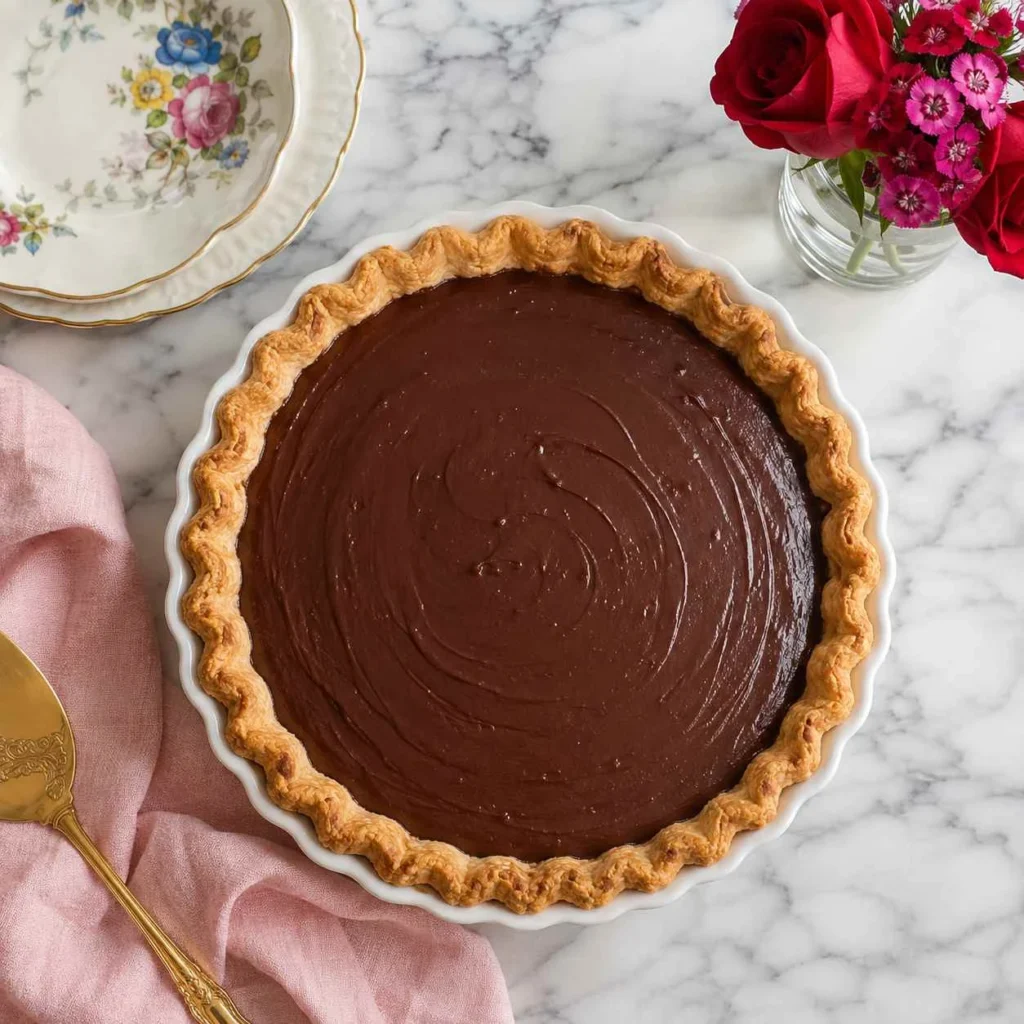
Because this filling is a cooked egg-and-dairy custard, treat chocolate pie the way you’d treat any custard or cream pie: it’s perishable and needs to stay cold. According to federal cold food storage guidelines, custard and cream pies keep for 3 to 4 days in the refrigerator and shouldn’t sit at room temperature for more than 2 hours.
| Storage Method | How Long | Notes |
|---|---|---|
| Refrigerator, covered | 3-4 days | Cover loosely with foil or a dome so the whipped cream doesn’t flatten |
| Room temperature | Under 2 hours | Longer than that and it moves into unsafe territory |
| Freezer | Not recommended | The custard separates and turns grainy once thawed |
Serving Suggestions
Chocolate pie doesn’t need much dressing up, but a few things make it feel a little more special. A pot of black coffee or espresso cuts through the sweetness nicely, and a handful of fresh raspberries or sliced strawberries on the side adds a tart contrast to all that chocolate. If you’re serving a crowd and want to round out the dessert table, this pie sits well next to our strawberry cheesecake, or, if chocolate is the whole point of the night, our classic chocolate cake a table over.
A small pinch of flaky sea salt on top of the whipped cream right before serving brings out the chocolate flavor more than you’d expect from something so simple.
Chocolate Pie Nutrition Facts
These figures are estimates for one slice, based on cutting a 9-inch pie into 8 servings, using the ingredients and amounts listed above. Cocoa and chocolate values are based on standard nutrient data from USDA FoodData Central. Actual numbers will shift depending on the exact brands you use.
| Nutrient | Amount per Slice |
|---|---|
| Calories | ~420 kcal |
| Total Fat | 24g |
| Saturated Fat | 14g |
| Carbohydrates | 46g |
| Sugars | 32g |
| Protein | 6g |
| Cholesterol | 145mg |
| Sodium | 190mg |
Frequently Asked Questions About Chocolate Pie
Can you make chocolate pie ahead of time?
Yes, and it’s actually better that way. Make the crust and filling up to 2 days ahead and keep the pie covered in the refrigerator. Add the whipped cream topping within a few hours of serving so it stays fresh and doesn’t weep onto the filling.
Why is my chocolate pie filling runny?
Runny filling almost always means it didn’t cook long enough on the stove. Cornstarch needs to reach a full simmer to activate its thickening power, so if you pull the pan off the heat too early, the filling won’t set even after hours in the fridge. It also needs enough chilling time — give it at least 4 hours before you decide something went wrong.
Do you need to refrigerate chocolate pie?
Yes. Because the filling is a cooked egg-and-milk custard, chocolate pie belongs in the refrigerator, not on the counter. Leaving it out for more than 2 hours puts it into a temperature range where bacteria can grow, so plan to chill it right after slicing and serving.
Can I use a graham cracker crust for chocolate pie?
Absolutely. A graham cracker crust is actually a popular way to make this recipe, and it skips the blind-baking step entirely since the crumb crust only needs a short bake to set. See the Variations section above for the exact ratio.
What’s the difference between chocolate pie and chocolate cream pie?
They’re close cousins. Chocolate pie usually refers to a firmer, denser custard filling like the one in this recipe, while chocolate cream pie is often a slightly looser, lighter version with more whipped cream folded into or piled onto a similar base. The names get used interchangeably in a lot of home kitchens, and this recipe sits right in between the two.
Chocolate pie earns its place on the dessert table by being exactly what it looks like: a straightforward, chocolate-forward, cooked custard pie that slices clean and tastes even better on day two. Give the crust its full bake, don’t rush the stovetop stirring, and let the filling chill properly, and you’ll end up with a pie worth making again. Looking for more? Browse our full pies and tarts collection, or browse recipes by badge to find your next bake.
Chocolate Pie Recipe Card
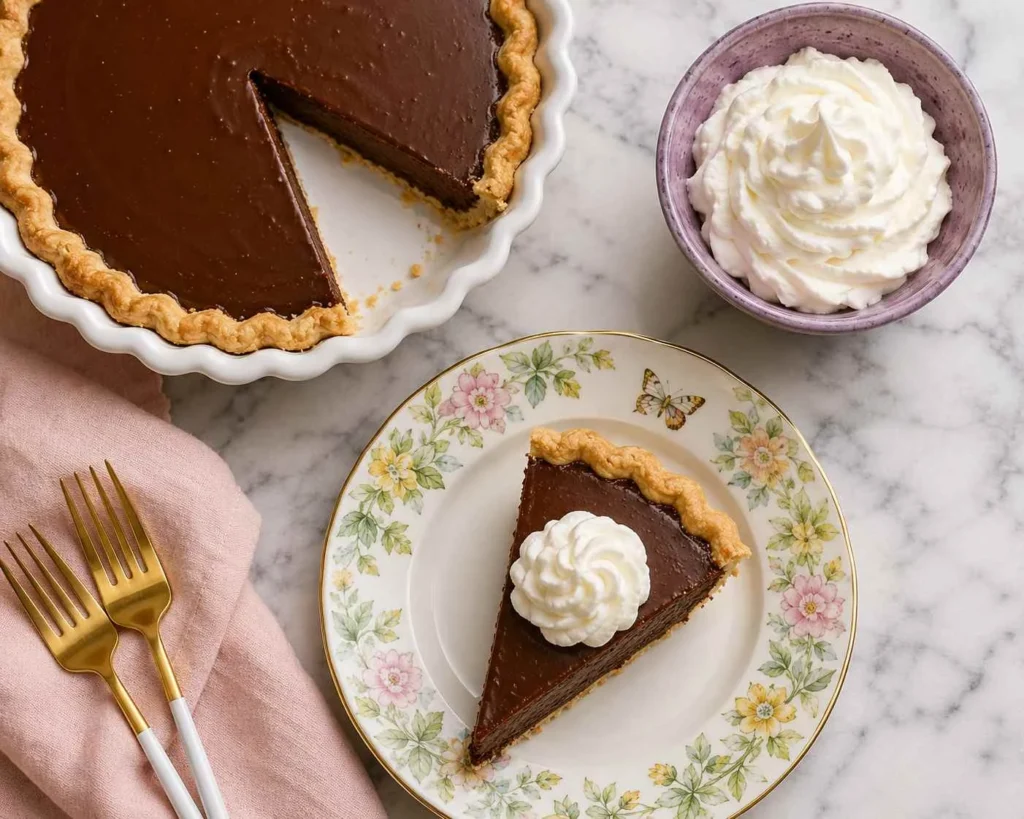
Classic Chocolate Pie
Description
A classic chocolate pie with a rich cooked chocolate custard filling in a flaky baked crust, topped with fresh whipped cream and chocolate shavings.
Ingredients
For the Crust:
- 1 1/4 cups (160g) all-purpose flour
- 1/2 cup (113g) unsalted butter, cold and cubed
- 1 tablespoon granulated sugar
- 1/4 teaspoon salt
- 3-4 tablespoons ice water
For the Chocolate Filling:
- 1 cup (200g) granulated sugar
- 1/3 cup (40g) cornstarch
- 1/3 cup (30g) unsweetened cocoa powder
- 1/4 teaspoon salt
- 2 1/2 cups (600ml) whole milk
- 4 large egg yolks, lightly beaten
- 4 oz (115g) bittersweet chocolate, chopped
- 2 tablespoons unsalted butter
- 1 1/2 teaspoons vanilla extract
For the Topping:
- 1 cup (240ml) heavy cream, chilled
- 2 tablespoons powdered sugar
- Chocolate shavings or curls, for garnish
Instructions
- Roll the chilled dough into a 12-inch circle and fit into a 9-inch pie plate; crimp the edges and prick the bottom with a fork.
- Chill the shaped crust in the freezer for 15-20 minutes while the oven heats to 425°F (220°C).
- Line the crust with parchment paper, fill with pie weights, and bake for 15 minutes.
- Remove the weights and parchment, then bake another 10-12 minutes until evenly golden. Cool completely on a wire rack.
- Whisk the sugar, cornstarch, cocoa powder, and salt together in a saucepan until no lumps remain.
- Gradually whisk in the milk until smooth.
- Cook over medium heat, whisking constantly, until thickened and bubbling, about 8-10 minutes.
- Temper the egg yolks with a cup of the hot mixture, then whisk back into the saucepan and cook 2 more minutes until thick.
- Off heat, stir in the chopped chocolate, butter, and vanilla until smooth. Pour into the cooled crust and press plastic wrap onto the surface.
- Refrigerate the pie for at least 4 hours or overnight until fully set.
- Whip the chilled heavy cream with powdered sugar to soft peaks.
- Spread or pipe the whipped cream over the filling and finish with chocolate shavings before slicing and serving.
Blind-Bake the Crust
Make the Chocolate Filling
Chill and Top
Equipment You’ll Need
- 9-inch pie plate
- Rolling pin
- Pie weights or dried beans
- Medium saucepan
- Whisk
- Electric mixer or hand whisk, for the whipped cream
- Fine mesh sieve, optional, for the smoothest filling